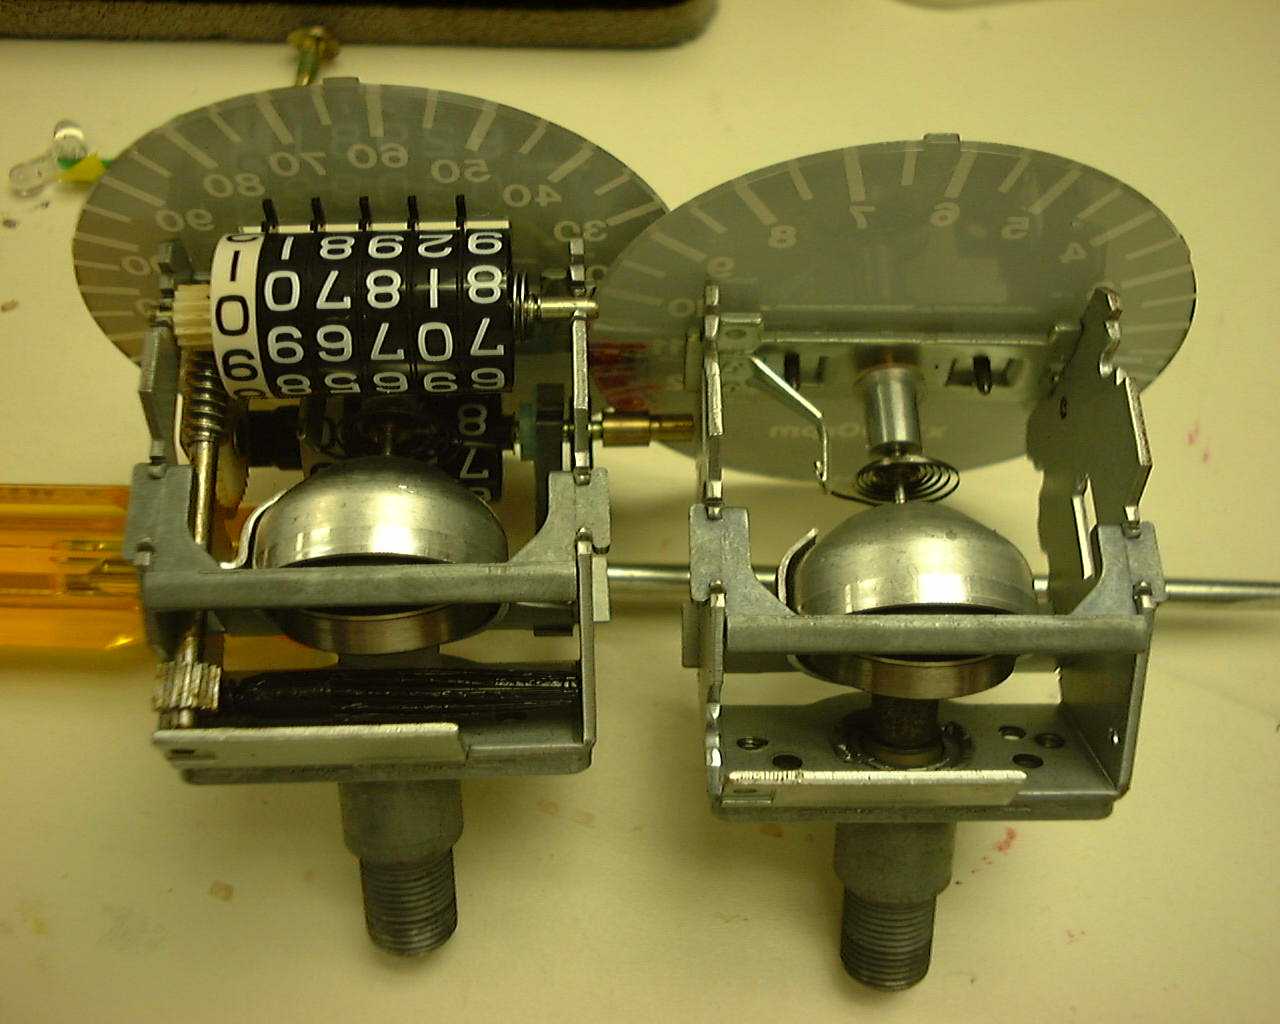
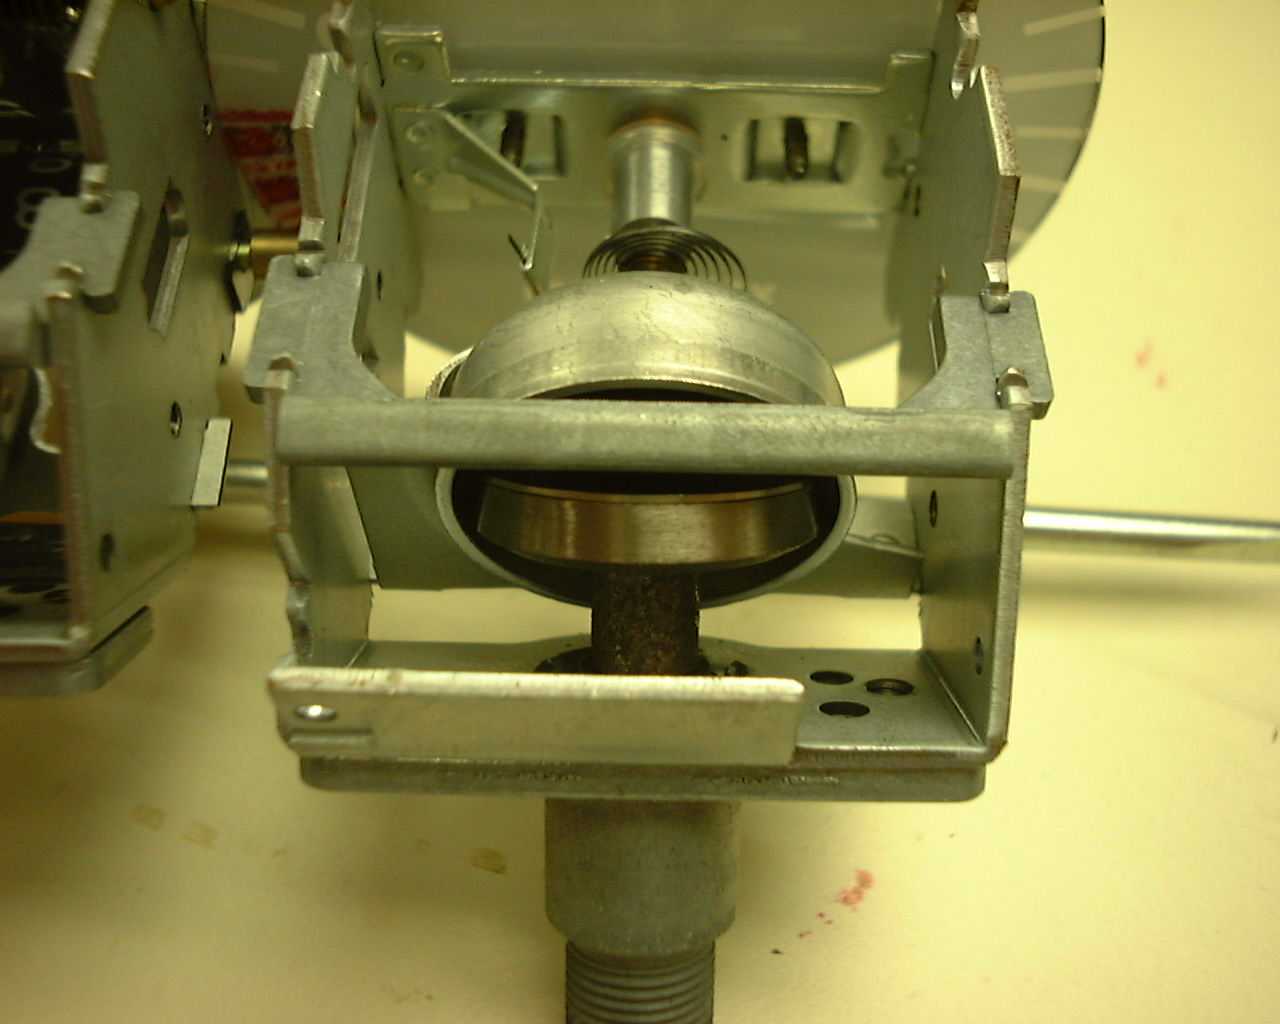
So you want to dissasemble your Tach? I will tell you how. First the tach is a Magnetic flywheel resolved
by a spring. In other words when the tach cable spins it rotates a magnet inside of a cone. By the magnet it trys
to spin the cone as well but since that is held with a spring it doesn't freewheel, and instead the faster the magnet spins
the harder it trys to spin the cone which pulls on the spring and when the cone turns it turns the needle.
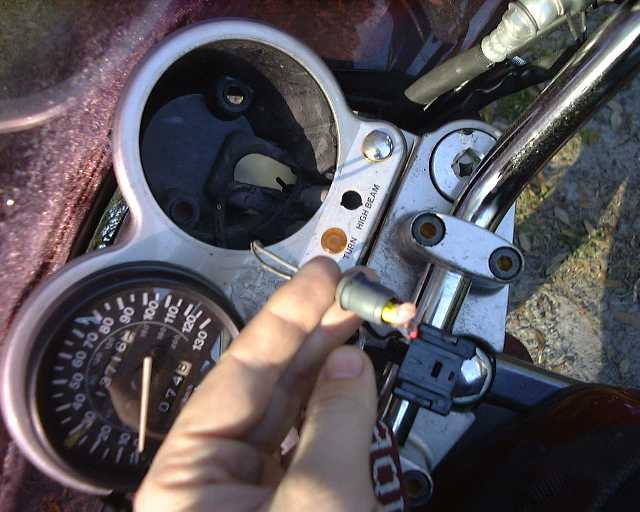
Ok now that you know how it works time to break it open. First you have to remove the tach from your bike.
Two acorn nuts and the tach cable hold it in, YOU DO NOT HAVE TO REMOVE THE WHOLE ASSEMBLY. I learned the hard way by
removing every single thing from the gagues to realise only 2 nuts hold it on. But get a open box wrench and take off
the two nuts, make sure you keep the nut,washer,gromlet in a safe place otherwise when you try to reinstall it will vibrate
and sound nasty.
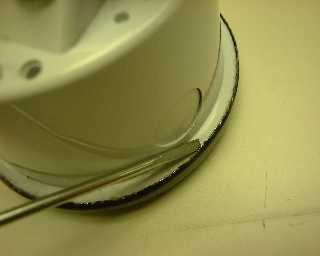
Nitty gritty. now with the nice $40 piece in your hands its time to remove the black cover. The black cover
is just a solid piece of metal that is wrapped around a lip on the housing. Just take a screwdriver and pry the lip
up straight so you can slide the housing out. (this takes awhile, and be very careful not to bend it too much because
this is visible, dont worry too much about the plastic) after you get the edges folded up slowly work off the black
cover/lens.
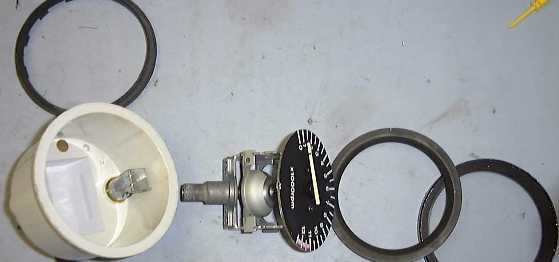
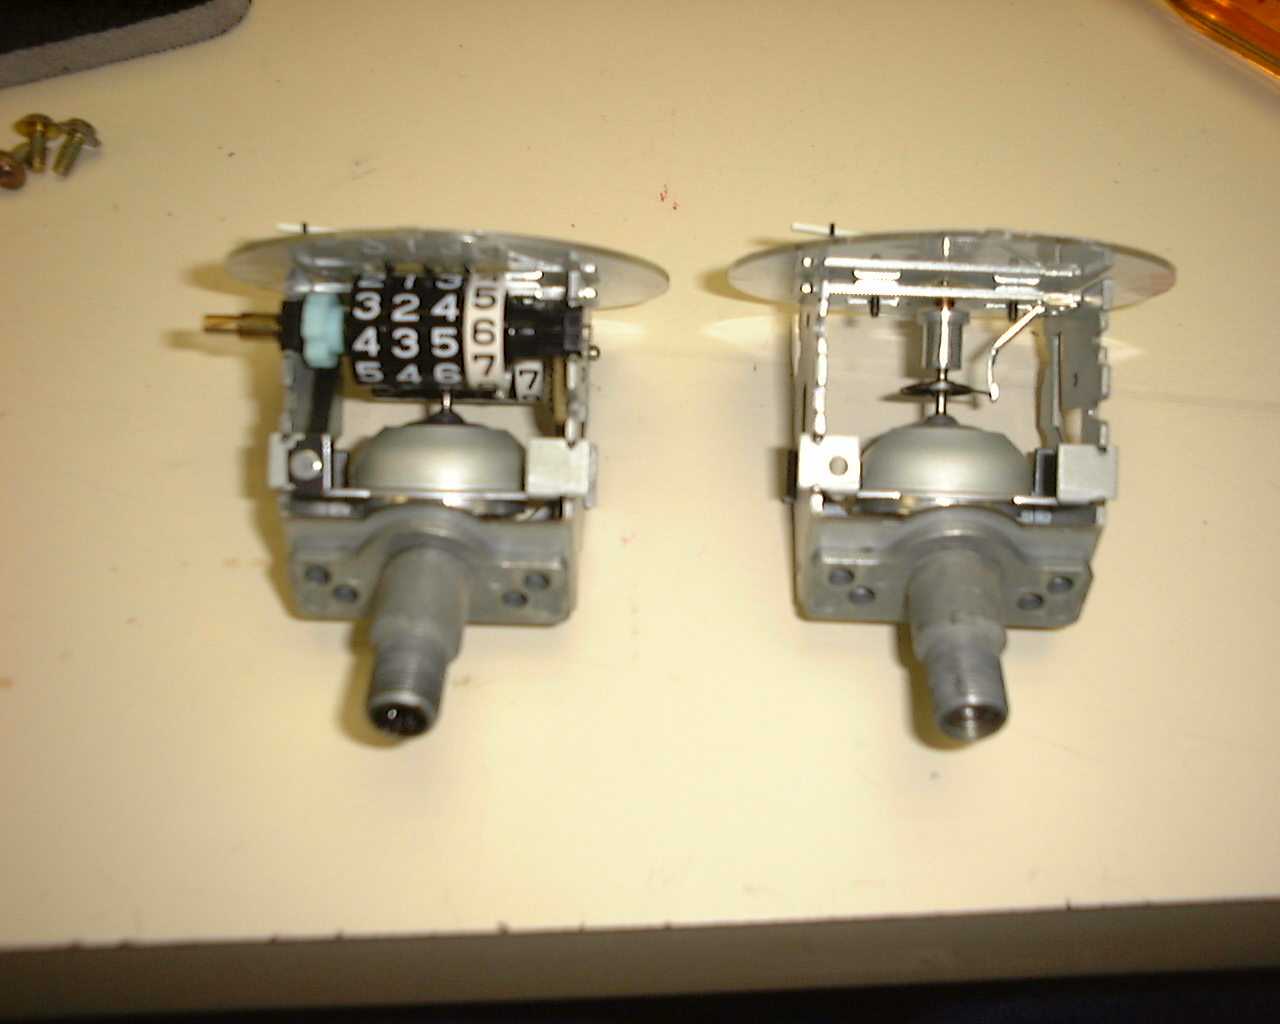
Now all that is left is two screws in the back holding the tach itself to the housing, just remove the screws and
thats it. Now you can do whatever you want. OH be very careful with the face of the tach because the numbers are
just painted on glass.
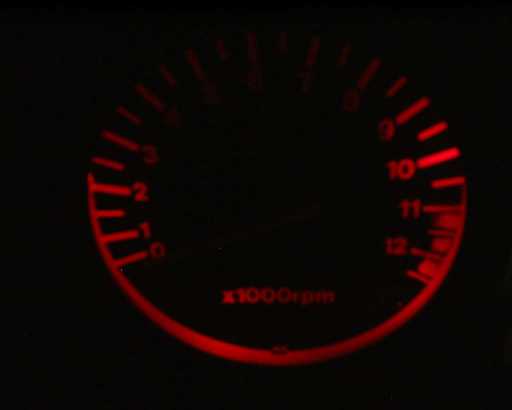
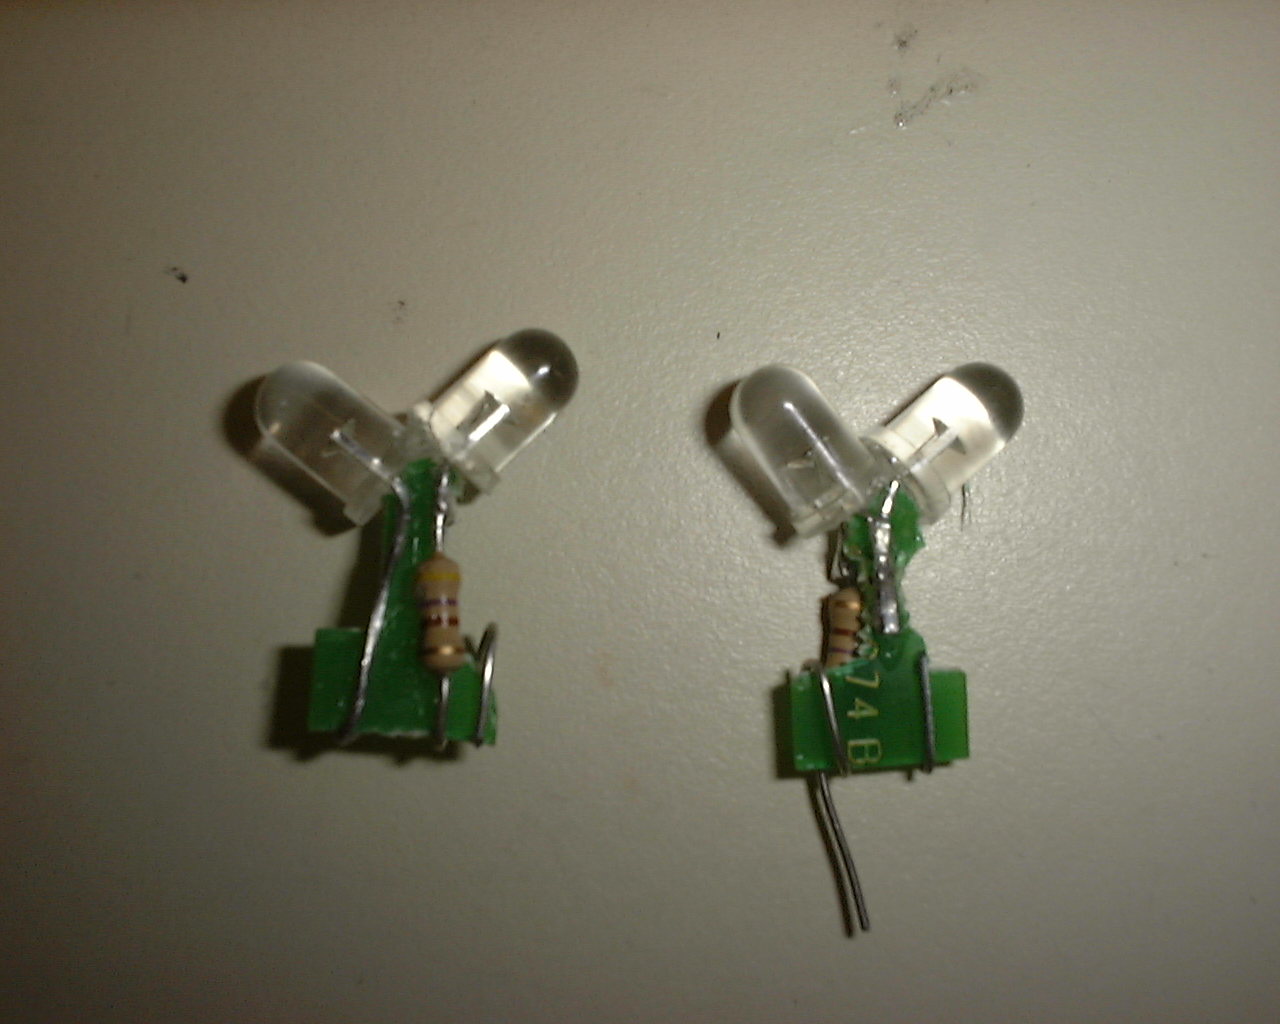
Soon I will be Showing you how to install LED's inside the tach/spedo to give it a colored GLOW.
JeffD
Added 2-20-03:
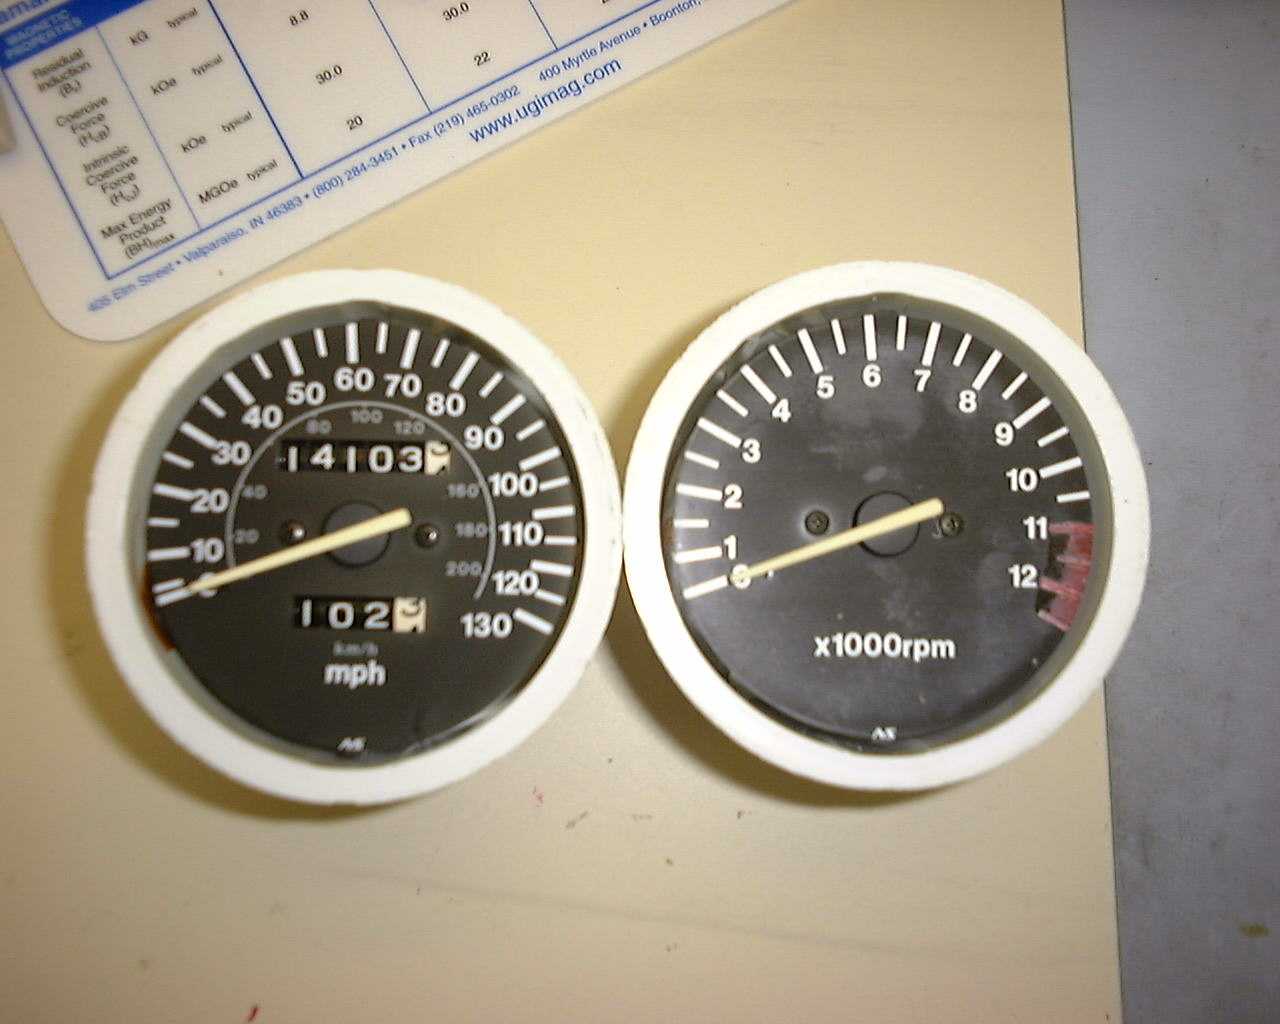
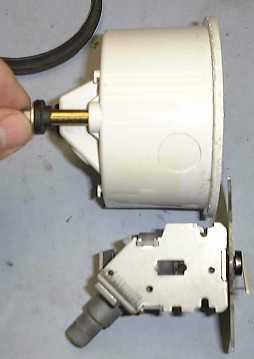
The spedometer is almost identical to the Tach except you have to work the rubber boot around the
reset knob.